"Sell-Buy" Pricing Mode
The page that will be displayed consists of five sections and is the main location for controlling the decisions that Energy Manager will make:
- Spike Preparation and Buy Pricing
- Normal Mode
- High Sell Mode
- Sell-Buy Mode
- Weather Settings
Details of the Sell-Buy Mode section and how to configure it are detailed in this section.
Sell-Buy Mode
The fourth section, as above, allows you to override Normal Mode and change the strategy for selling your stored electricity. You may find that your usage patterns don’t suit Normal Mode or High Sell Mode control methods, and would prefer to base it purely on the difference between the cost to buy and the price at which you sell electricity.
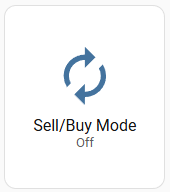
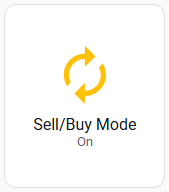
Sell-Buy Mode Toggle
By default, Energy Manager will run in Normal Mode (refer to the instructions on Normal Mode for more information). However, two other modes — High Sell Mode and Sell-Buy Mode — are available if Normal Mode does not suit you (refer to the High Sell Mode details for more information). Sell-Buy Mode can be enabled or disabled using the Sell-Buy Mode toggle.
If the toggle is blue, it is off/disabled (and therefore another mode is enabled; by default this is Normal Mode).
If the toggle is orange, it is on/enabled (and therefore Normal and High Selll modes are disabled).
Only one of Normal, High Sell Price and Sell-Buy modes can be active at any one time. Normal Mode is the default mode and is enabled by default, but is automatically overridden when either the High Sell Mode or Sell-Buy Mode toggle is enabled. There is no Normal Mode toggle, only the High Sell Mode and Sell-Buy Mode toggles.
Why would you use Sell-Buy Mode over High Sell Mode or Normal mode?
There are some situations where Sell-Buy Mode has advantages over the other modes, besides being simpler to configure than Normal Mode.
Scenario
There are owners who wish to sell their energy aggressively so that they empty, or nearly empty, their battery each night. However, with this strategy often comes the requirement to purchase energy from the grid due to the battery being empty. The problem with this is that energy may need to be purchased at a price higher than it was sold for, resulting in an overall loss.
Sell-Buy Mode aims to reduce the cost of this strategy by looking ahead to upcoming buy prices after midnight and only selling if the upcoming buy price is LESS than the current sell price. This means that if energy must be purchased later, the cost should be lower than the price at which you sold your energy. It does this by adhering to an owner-set sell/buy difference value, measured in c/kWh.
For example, if the sell/buy difference is 10c/kWh and the current sell price is 25c/kWh, the system will only sell energy if the upcoming buy price is 15c/kWh or less (25c minus the 10c difference). If the upcoming buy price is 20c/kWh, the system will not sell, as the price difference between selling now and buying later would be only 5c — below your configured 10c/kWh difference.
Please understand that this method is aimed at optimising your sell/buy pricing, and the nature of this mode is to export as much energy as possible. It should be noted that it is not a good idea to constantly deep-discharge your battery. Battery chemistries are such that they should not be frequently emptied completely, as this increases wear and tear, reduces battery life, and may impact your warranty.
Configuring the settings
The Sell-Buy Mode is simpler than Normal Mode. Instead of having six capacity and pricing divisions, it has only two. In Sell-Buy Mode you only set two fields — the battery reserve and the price difference at which you are willing to let Energy Manager export your electricity. It’s that simple. By default (see below), the battery reserve is set at 10% and the price difference is set at 10c/kWh. Both of these are configurable.
What this means is straightforward — if the difference between the current sell price and the forecast upcoming buy price is 10c/kWh or greater and your battery has more than 10% capacity remaining, Energy Manager will export your electricity.

Example
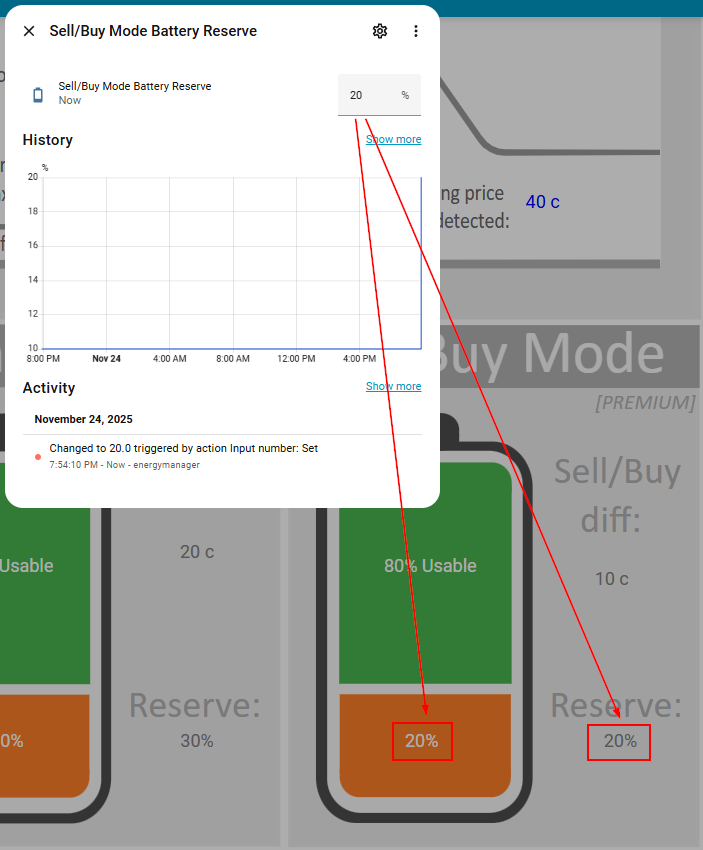
In this example, it is assumed that Sell-Buy Mode has been enabled (refer to How to control Energy Manager). We will adjust the settings so that we export 80% of our battery, keeping 20% for ourselves. We will also allow electricity to be sold only if the price to buy the power back later is 15c/kWh cheaper than the price at which we sell it.
First, we will adjust the battery reserve. Click either on Reserve on the right or on the battery itself. You will be taken to a screen that allows you to increase it to 20% (for a 20% reserve = 80% usable).
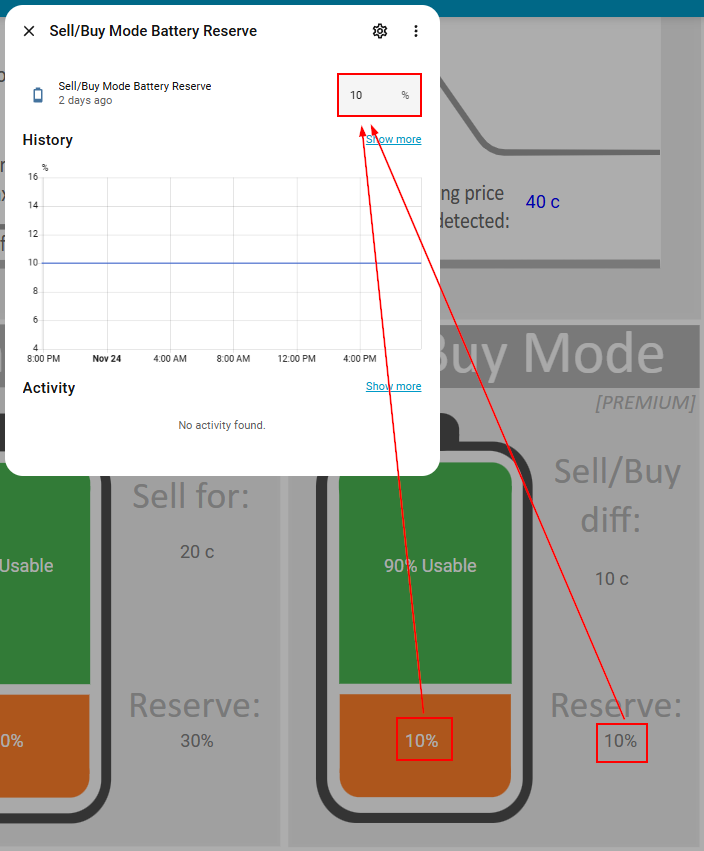
Enter into the box the battery reserve you want, in this case 20%. It will update the Sell-Buy Mode settings on the diagram.
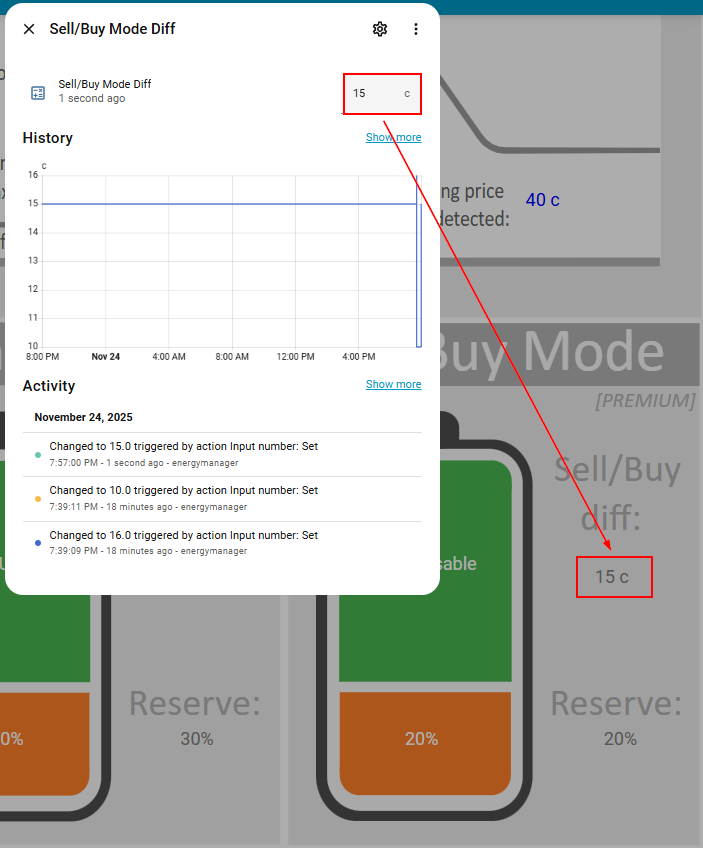
Now we want to update the sell-buy price difference that we are willing to allow our stored electricity to be sold for.
Click on the Sell/Buy diff amount and you will be taken to an input box where you can enter the new sell-buy difference price that you're willing to let your electricity be sold for.
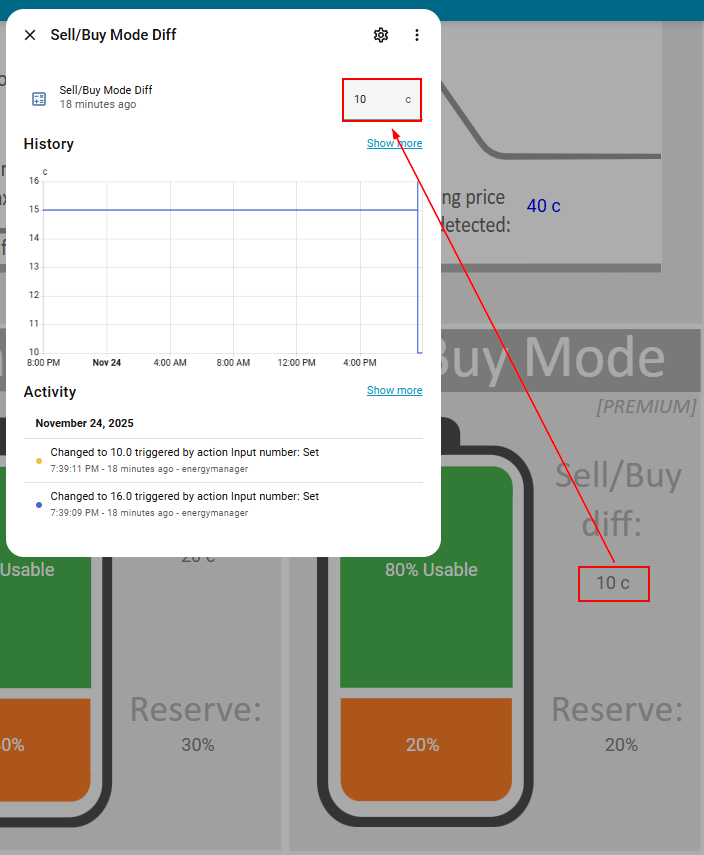
We'll let our electricity be sold for a difference of 15c/kWh or greater, so we simply set this value. Remember, this is NOT the actual sell price, but the DIFFERENCE between selling and what the buy price is predicted to be after midnight. For example, if your current sell price was 45c/kWh, with a 15c/kWh sell-buy difference, we would sell at 45c/kWh if the predicted buy price was 30c/kWh or less. With this configuration, 15c/kWh is the minimum "profit" that we are prepared to make to export our stored energy.
And that's it. Energy Manager will detect these setting changes and act accordingly when making export decisions.
Remember that the Sell-Buy price difference is based on predictions from your electricity provider's buy/sell forecasts. They are predictions and as such are not guaranteed. You will need to decide yourself how much you trust these predictions.
Remember that if you enable Sell-Buy Mode then High Sell Mode and Normal Mode will automatically disable - you cannot run multiple modes at once as they are different methods to control exports. Normal Mode will be re-enabled automatically when both Sell-Buy Mode and High Sell Mode are disabled.
You can go directly to the other sections of this configuration page below:
↩ Spike Preparation and Buy Pricing
➜ Weather Dependent Discharge Settings