Perform any Updates
Keep Home Assistant Updated
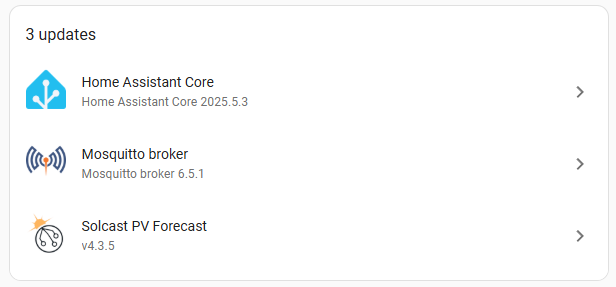
- Click on Settings down the bottom left of the screen, and then update any components that require updating. If the system asks you to restart, proceed and restart. In this case there are three updates required. Note that pending updates are displayed at the top of the page, but if there are none, there will be nothing to see.
You will need to regularly check your Home Assistnt to see if there are updates waiting to be installed. It is your responsibility to keep your Home Assistant instance updated to the latest version.
Keep Energy Manager Updated
New features and bug fixes are released through Energy Manager's own update system. Your Home Assistant will check the Energy Manager update server daily at 6am. If there is an update waiting, you will be notified. It won't install the updates automatically, so you can control when they are done as often a restart of your Home Assistant will be required (especially if there are any modbus updates).
For this exercise we will check for updates manually and then we will update Energy Manager.
If you are a number of Energy Manager versions behind the latest, there is no need to update through each version number individually. Just updating to the latest is sufficient as they are cummulative and contain all previous updates.
You must keep Energy Manager updated. If your system falls too far behind in versions, your system will be restricted from accessing the Energy Manager API (for both free and premium users), and Energy Manager will stop working. If you're in this situation, it will return to normal automatically once you have updated Energy Manager to the latest. If for some reason you can't update, please log a support ticket.
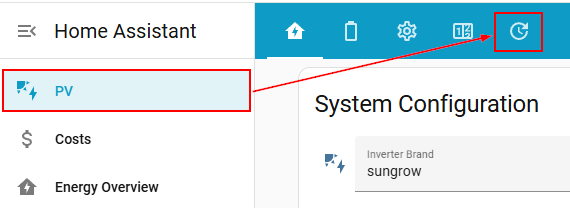
Browse to the PV menu, then to the update icon
You will be shown the following view:
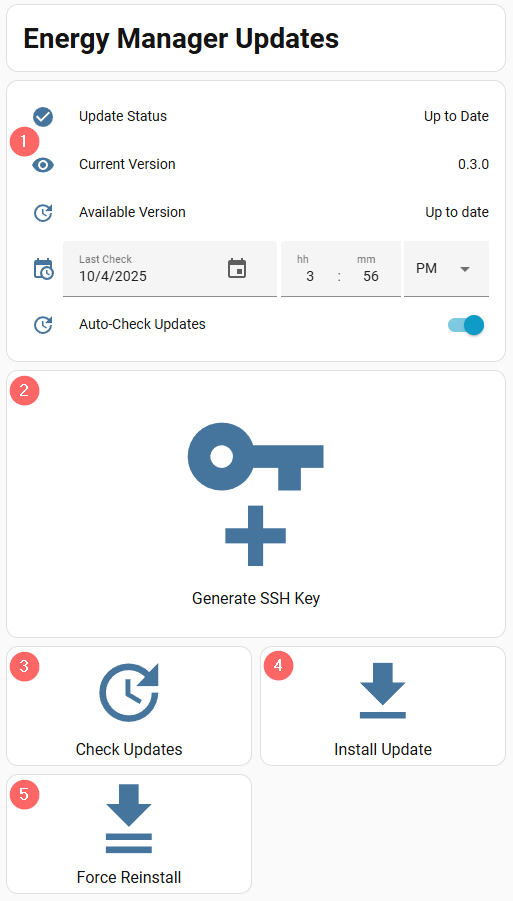
- This section shows you your current update status. Note that it will say Up to date when you first visit this page, as currently it has not checked to see whether there are updates waiting or not.
- The first time we use this update page, we will be shown the large Generate SSH Key button. This will disappear once we have generated the SSH key (see below).
- The Check Updates button will fetch the latest manifest to see if there are updates waiting for your system.
- The Install Update button will allow you to install an update if there is one available.
- The Force Reinstall button will allow you to redownload the same version again. This is handy when you muck up a file and something starts going wrong, this can reset EM to the default files for this current version.
Configuration of the update process, required once
To be able to update certain files in Home Assistant, the SSH add-on (pre-installed) is required to run in the background. For this to work we will need to create an SSH key.
Please go by the instructions that continue after the below screenshot, rather than following what the screenshot says (as both are the same).
IMPORTANT: Do not dismiss the "Done - Hide This Message" box until you have completed your SSH configuration, as you won't be able see the SSH key again easily.
Click on the large Generate SSH Key button
The following will be displayed:
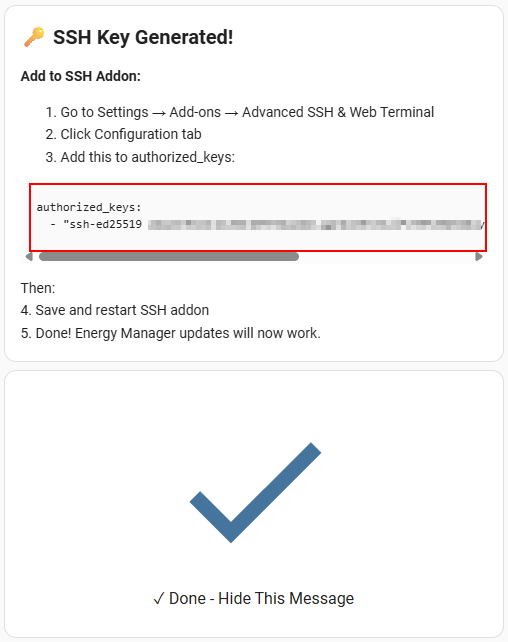
Copy the entire code that is displayed (both lines) and then perform the following:
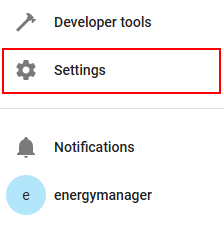
Click on Settings on the left menu
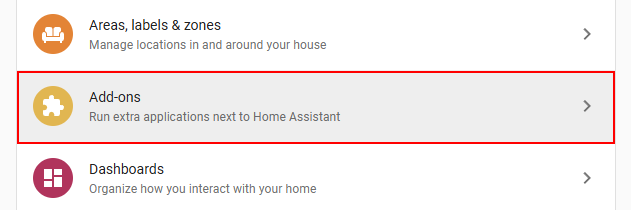
Click on Add-ons
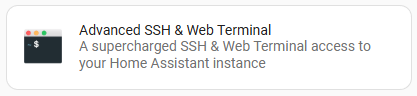
Then click on Advanced SSH & Web Terminal
Up the top you will see four tabs. Click on the one called Configuration

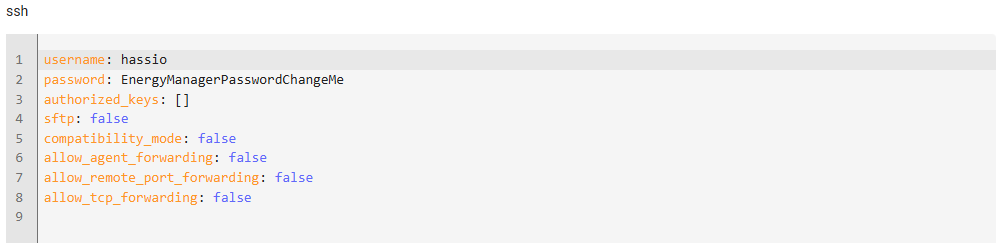
We will update the Options box at the top:
If you're installing on HA 2025-10 or greater, you may need to click on three vertical dot menu on the top right and then select Edit in YAML to be able to locate the above options.
Paste in the SSH key that was copied from an instruction above, as per the screenshot below. While you're at it, change the password there as well.

Once pasted in following the format in the screenshot above, press SAVE at the bottom of the Options box (not the save button at the bottom, it must be the top one which is within the same Options section ).
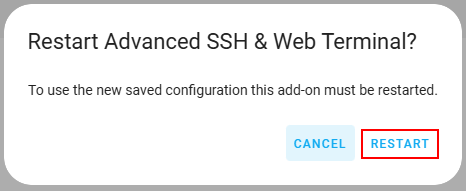
Press RESTART when prompted.
Once restarted, return to the Updates page (PV Menu > Updates) and the click on the large Done - Hide This Message button.
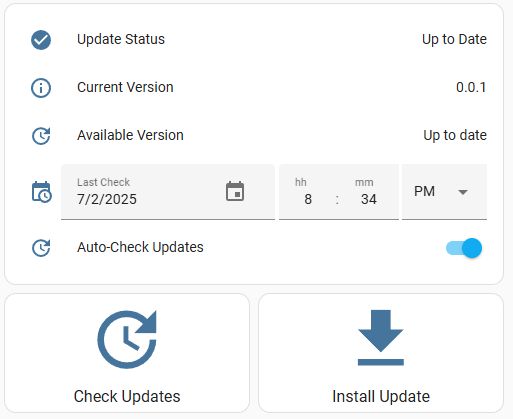
The page will change and just show the following three sections:
From version 1.0.0 you must enter your Energy Manager API Key in your PV Dashboard Settings page for updates to work. Ensure that you obtain your free key (from https://energymanager.com.au/usersc/subscriptions.php) and update your Home Assistant with it before progressing.
Select the Check Updates button and it will turn orange and also create a notification (you can just dismiss this).

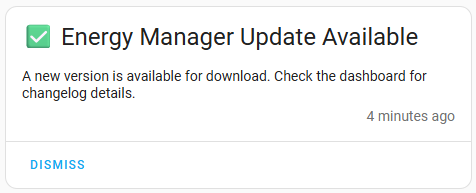
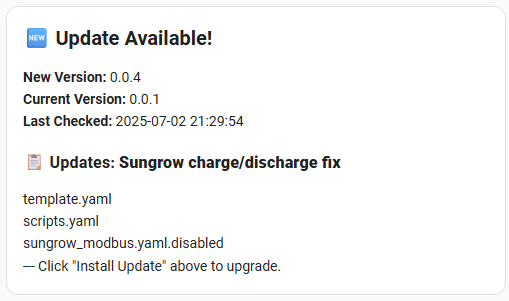
If there is an update available, a notification simlar to below will be created, along with details of what is contained in the new update.
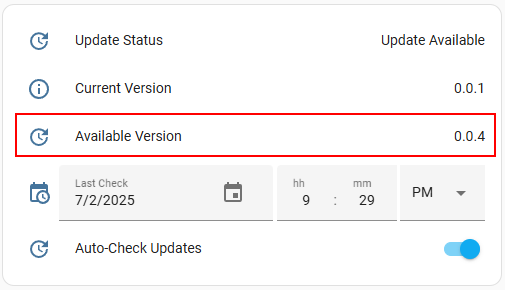
The Available Version will be updated in the upper box:
If there are no available updates, a notification will be created to say that your Energy Manager is currently up-to-date.
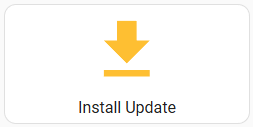
Select the Install Update button to start the update:
Once the update has completed, a notification similar to the following will be displayed.
You can dismiss this notification and you must restart Home Assistant for the changes made in the update to take effect.
For this installation, if there is no update waiting for you, please perform a FORCE REINSTALL to make sure you are absolutely on the most recent update. Some important bugfixes are updated immediately in the source on the update server, which may not exist on the downloaded backup/restore that you currently have.
There are multiple ways to restart Home Assistant:
- Settings > System > Power icon at the top right of the screen > Restart Home Assistant
- Developer tools > Check Configuration > Restart (Recommended method)
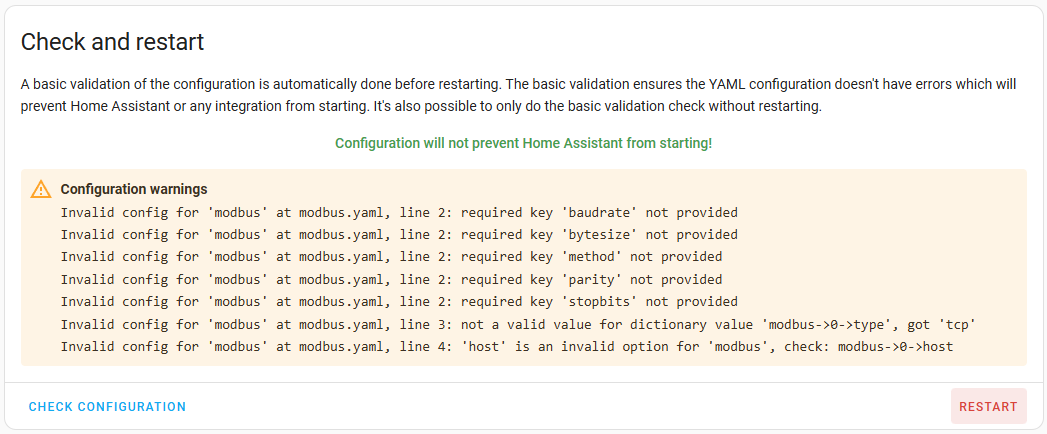
It is good practice to check the yaml configuration via Developer Tools > Check Configuration before you restart, to confirm that there are no yaml configuration errors that would stop Home Assistant from restarting correctly.
You will most likely see the following warnings. These are ok at this stage because we have not yet configured modbus.