Step Four - Part Nine - Solcast
Your Solcast Details
Solcast is an Australian company that offers solar forecasts through a free API (for hobbyists). Hobbyists (home users) can make up to 10 API queries per day; past that you will be rate limited. Energy Manager uses these solar forecasts because they are unique to your exact geographical location and solar array size and placement, and they are used to make decisions on whether to use the sun to charge your batteries or the grid, or whether to export your solar to the grid because there will be enough generation by the end of day (along with other deciding factors like current buy and sell prices, etc.).
Solcast allows a home user to have two solar array configurations in their system. This is useful if you have solar panels on two different roof surfaces facing different directions, getting differing amounts of solar generation at the same time of day.
Create yourself a Solcast account
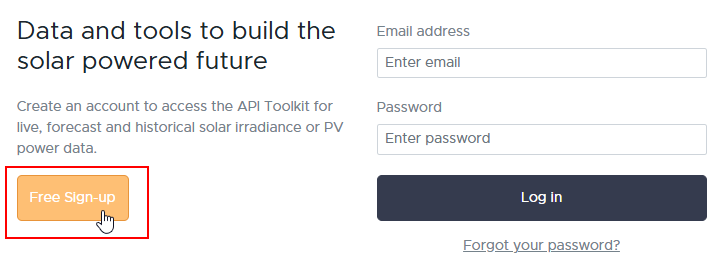
- Browse to https://solcast.com/
- On the top right of the page, click on Sign in

- Click on Free Sign-up
- Select Home User
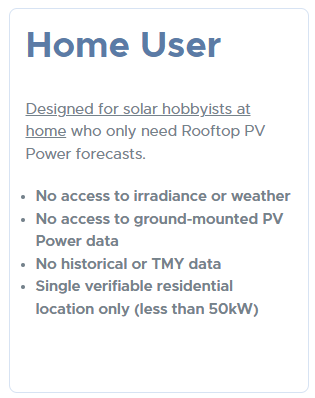
- Enter all details, including being a Hobbyist, and press Submit
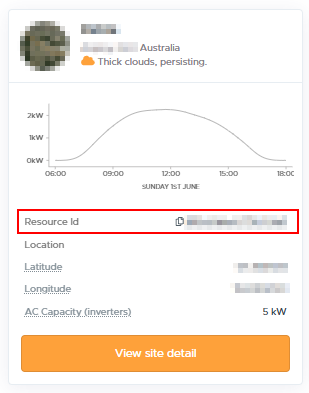
- Once you have received your account details, log in. You will be taken to a Home PV System page.
- Create your first solar array (you can add up to two, so just create one if you have all your solar panels facing the same direction)
- Complete all the details, as per the help icon information next to each field.
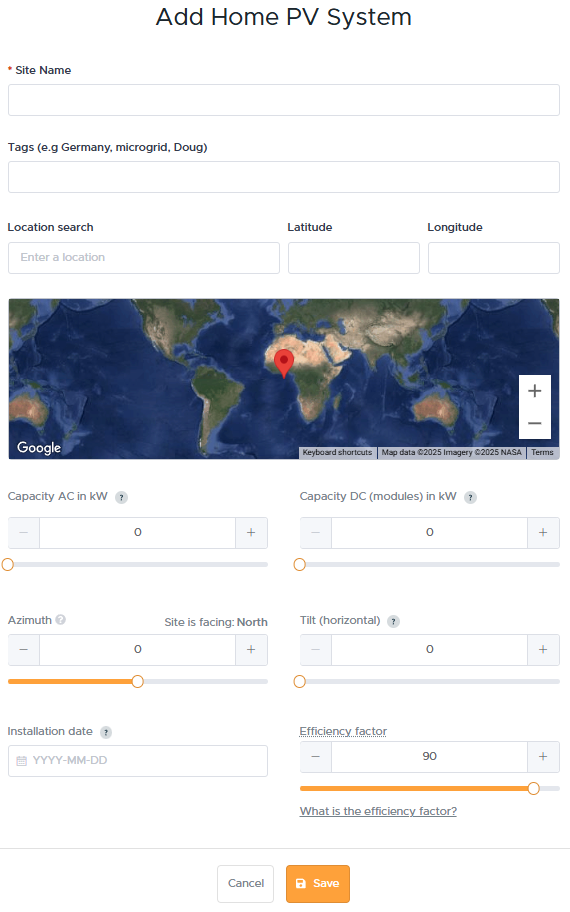
The Azimuth is important, and that is the angle that your panels are pointing (away from North). So facing North is 0, West is 90, South is 180, East is -90. Try and get this as close to reality as possible.
- Once you have saved your first PV array, repeat it for a second PV array if you have a second one. If you only have one, don't create another one.
- Take note of the Resource Id from each of the PV arrays that you have just created. If you have created two arrays, each will have their own Resource Id; you will need both. These will become your Solar Array Codes in Home Assistant.
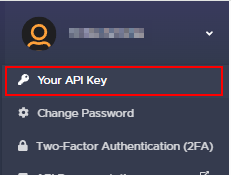
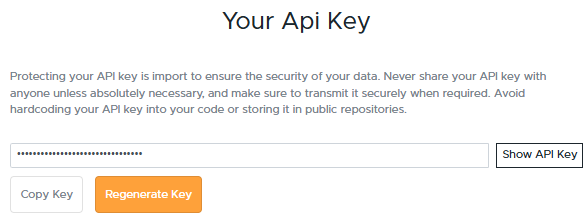
- Now take note of your API key from the personal menu up the top right of the page
Configure the Energy Manager
Enter the codes that we have just obtained into the Energy Manager settings. So on the same PV Cog dashboard we were at previously, paste the appropriate codes into the appropriate boxes:
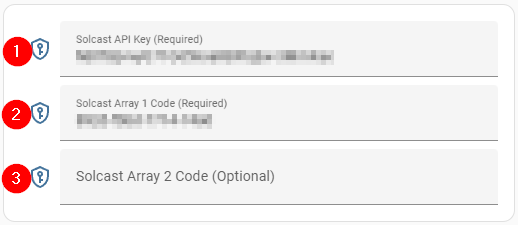
- Enter your Solcast API Key into the Solcast API Key box
- Enter your first Resource Id into the Solcast Array 1 Code box
- If you have a second Resource Id, enter it into the Solcast Array 2 Code box. Note, do not enter the same code as the first array code. Leave blank if you only have a single array.
Configure the Solcast Integration
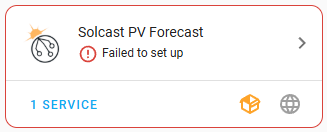
- From the side menu, select Settings, then Devices & services and find the Solcast integration. You should see that it tells you that it has failed to set up.
- Select the integration and you will be taken to a screen similar to the following:
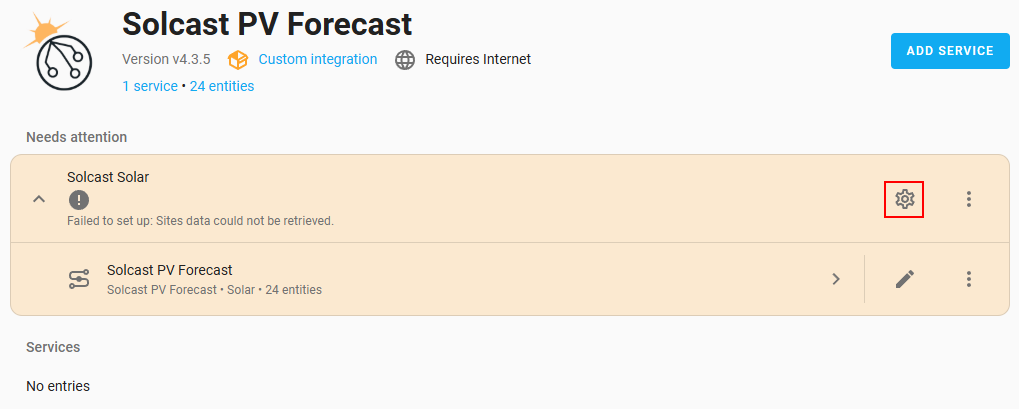
- Click on the Cog icon (highlighted) and you will be taken to the following screen.
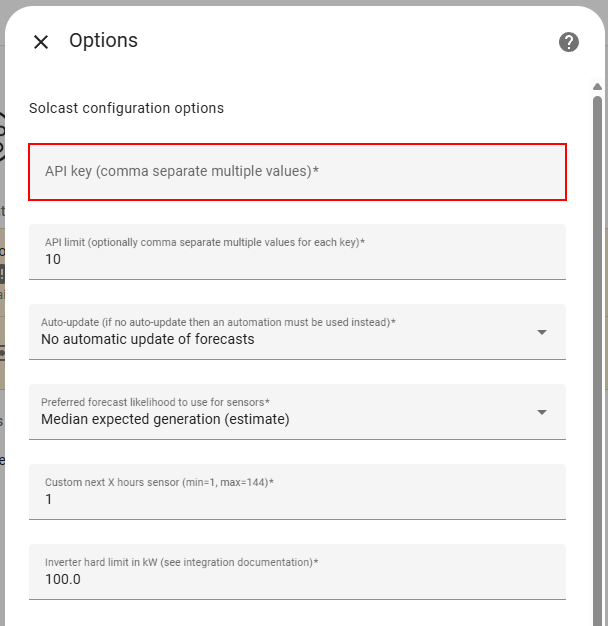
- Enter in your Solcast API key that you have previously obtained, scroll down to the bottom of the form and then press Submit (keep everything defaults, including the tick boxes).
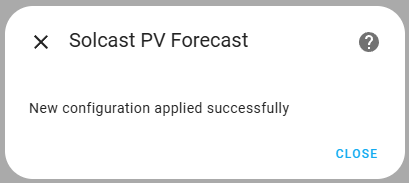
- You should be shown a confirmation that the configuration has been applied successfully. Press Close.