Step Three - Run the Installation Script
Instructions
These instructions will guide you through the installation of the Energy Manager files, which include dashboards, scripts, templates, automations plus required apps, integrations and other components. Once you have completed this step, you will need to peform some final configurations that are unique to your system that cannot be automated.
Prerequisites
- Your Home Assistant instance is running HA Core 2026.11 or greater
- Your Home Assistant instance is able to connect to your network
- You have the ability to access the webpage of your Home Assistant instance from another computer on the same network
- It is a good idea to have your free Solcast API key and resource IDs handy, but this can be performed later if needed (refer to Solcast Preparation).
- It is a good idea to have your free Energy Manager API key handy, but this can be performed later if needed (refer to the subscriptions page of your Energy Manager account to obtain your key).
A video tutorial of the installation process can be found here.
Installation Instructions
- Power on your Home Assistant instance
- Browse to http://homeassistant.local from another computer on the same network (if you already have a "homeassistant.local" instance on your network, or if 'homeassistant.local' doesn't work for you, browse to http://x.x.x.x (where x.x.x.x is the IP address of the Home Assistant instance)).
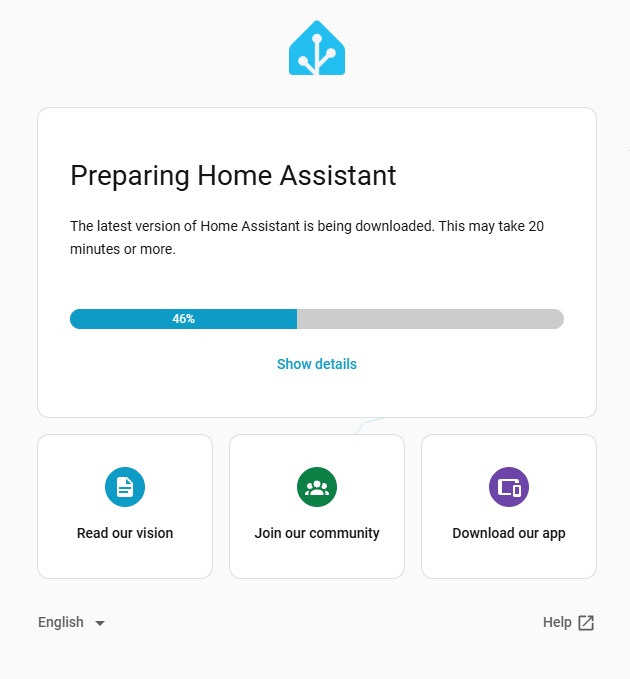
- If your Home Assistance is still configuring itself, you will be shown the following page:
- Once Home Assistant has completed it's first preparation, the following screen will be displayed:
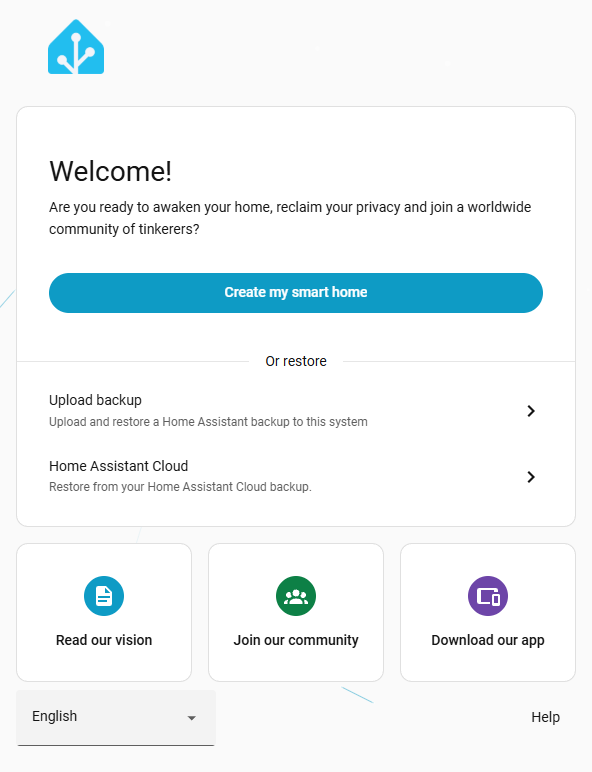
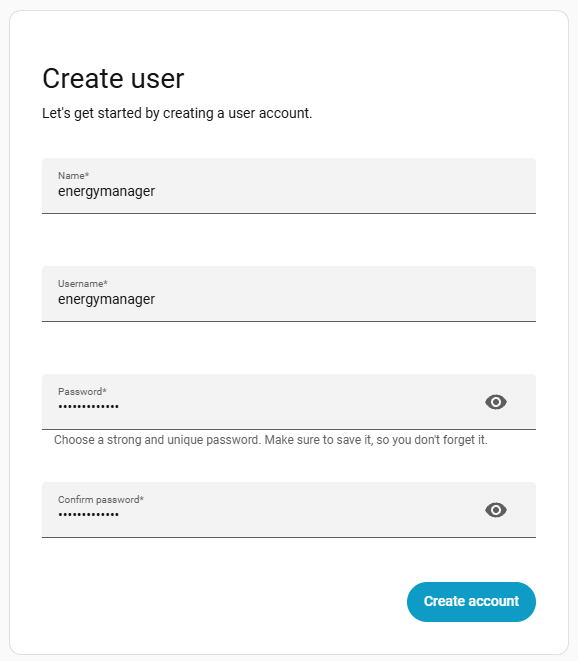
- Select Create my smart home and fill in your name, decide on a username, and create and confirm a password for it. Proceed and create your account.
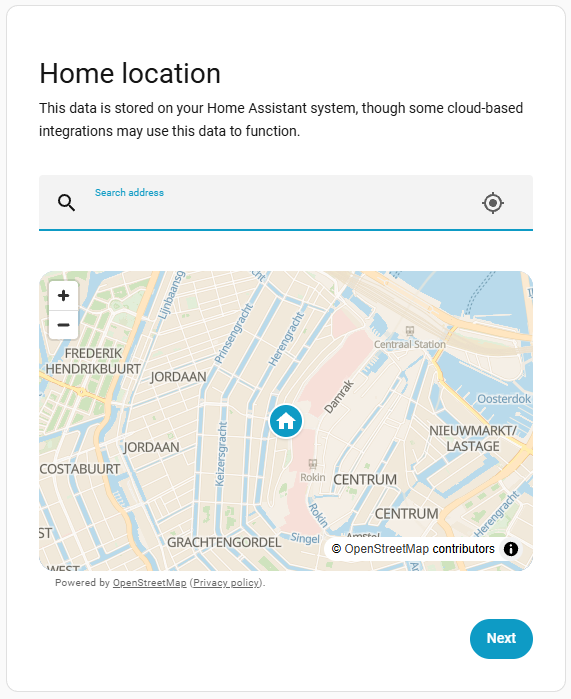
- Search for and enter your Home location. It is important to ensure this is accurate as your weather forecasts will be based off what you enter here. Press Next once ready.
- On the Help us help you, decide what information, if any, you wish to share with the Open Home Foundation. Press Next when ready.
- On the All set! window, select Finish.
The base Home Assistant is now configured. The next steps will prepare and then install the Energy Manager system into your new Home Asisstant.
Install SSH to allow the installation script to be run
In order to run the installation script, we will need to install the Advanced SSH & Web Terminal app into Home Assistant.
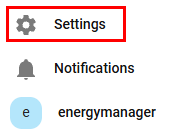
- Click on Settings from down the bottom of the left side menu.
- Locate and click on the Apps option

- Click on Install app from the bottom right of the screen
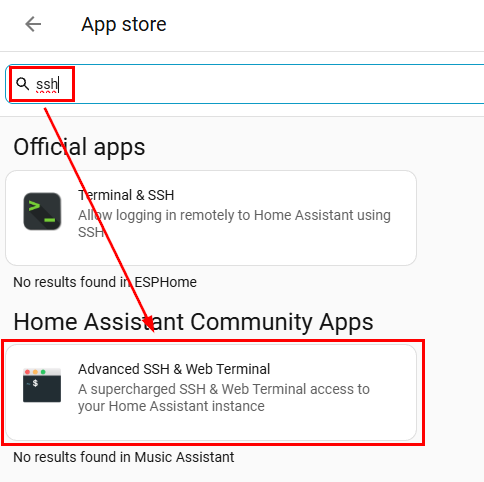
- Search for ssh in the search bar, and then click on Advanced SSH & Web Terminal. Do not install the app titled Terminal & SSH.
- Click on Install and let the app install itself. It will take a minute or two to install.
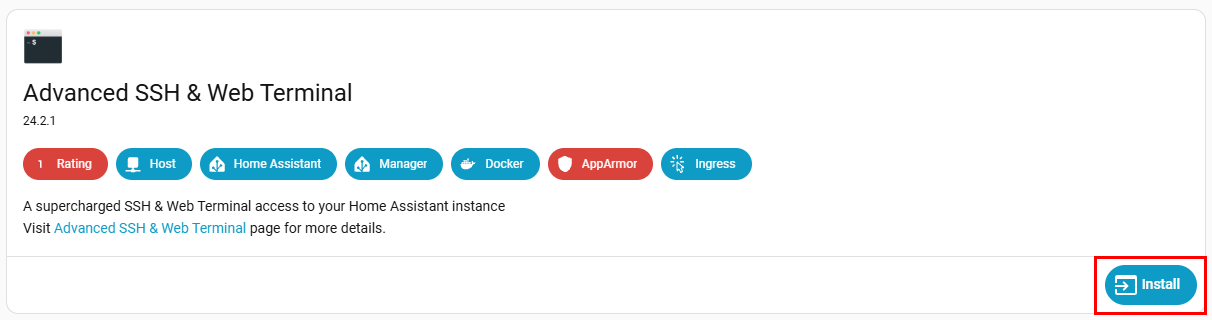
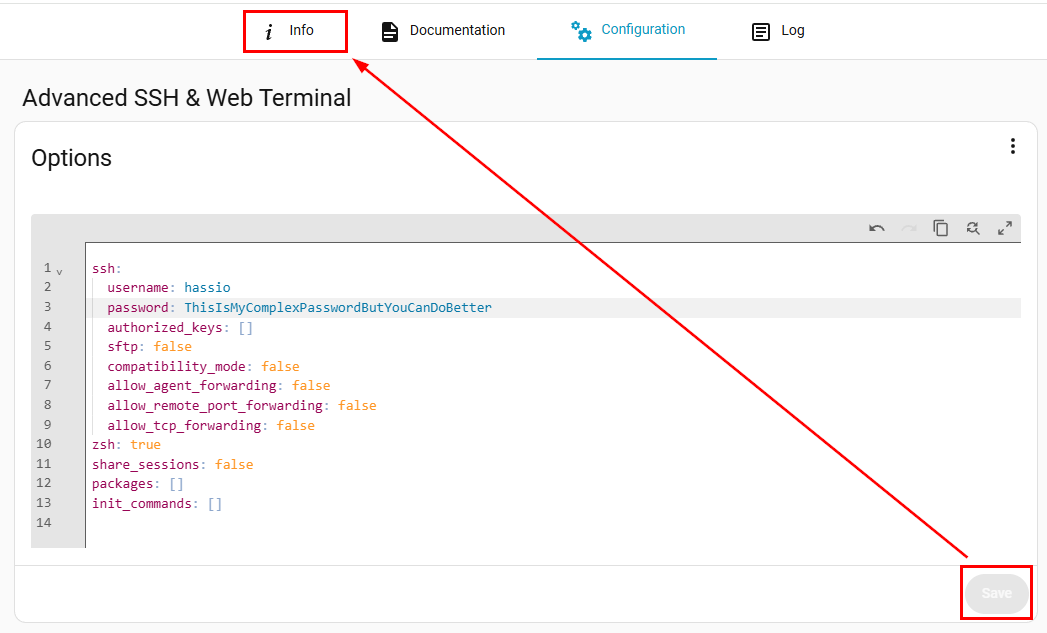
- Once the app has been installed, click on the Configuration tab at the top of the screen.
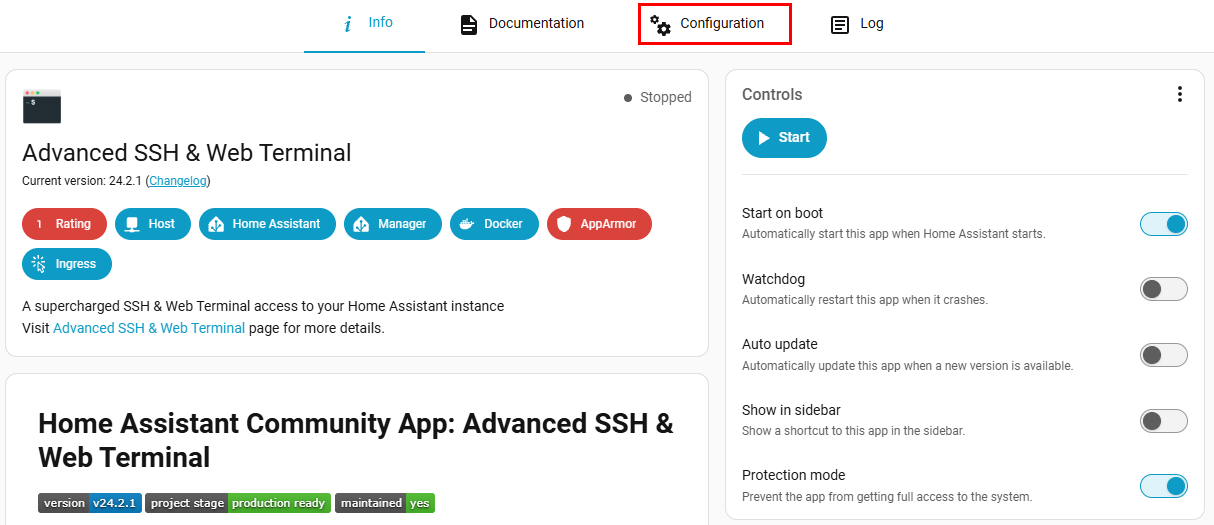
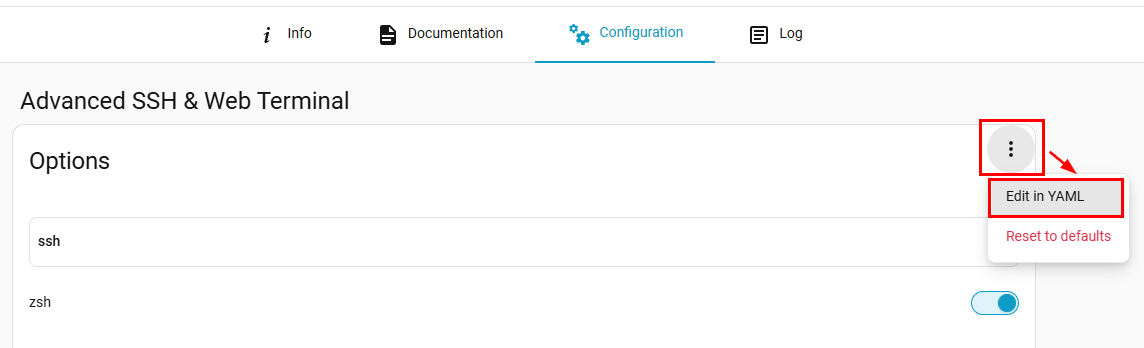
- From the top Options section, click on the right-hand 3-dot menu and select Edit in YAML
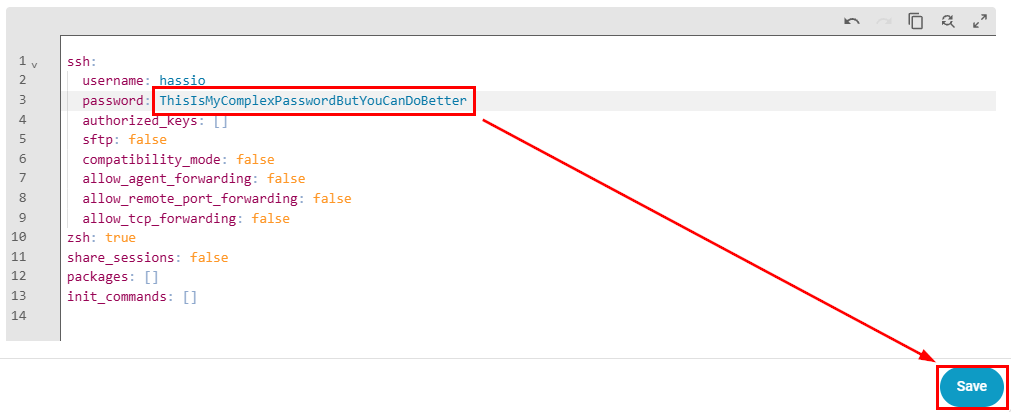
- Remove the '' quotes from after the password field, and enter your own complex password, and then press Save. Energy Manager will later use a SSH key for authentication, but at this stage we need a password entered.
- Once the save button has grayed out, click on the Info tab from up the top of the page.
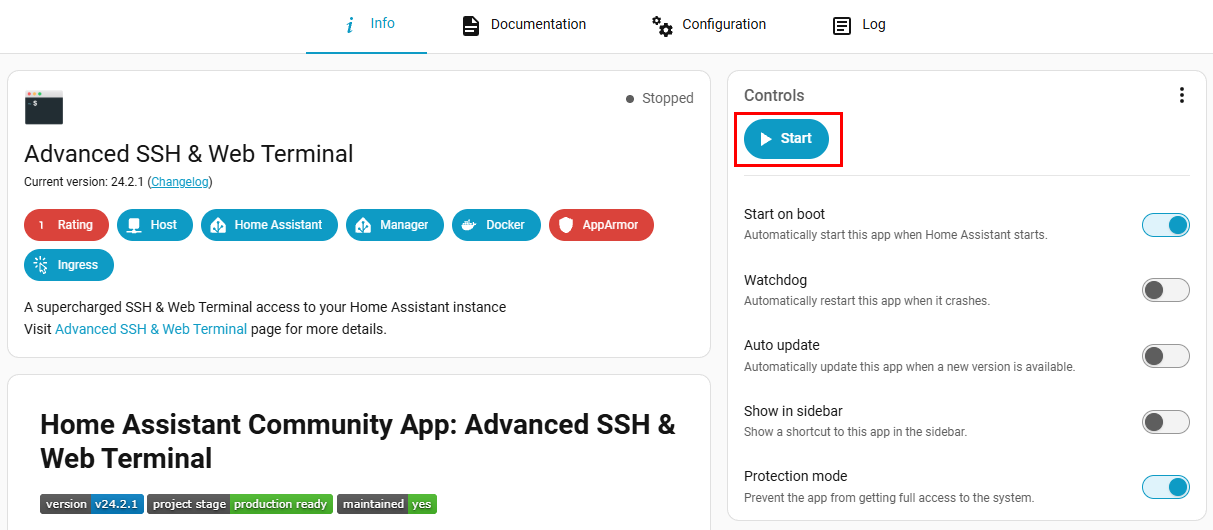
- Click on Start to start the SSH app.
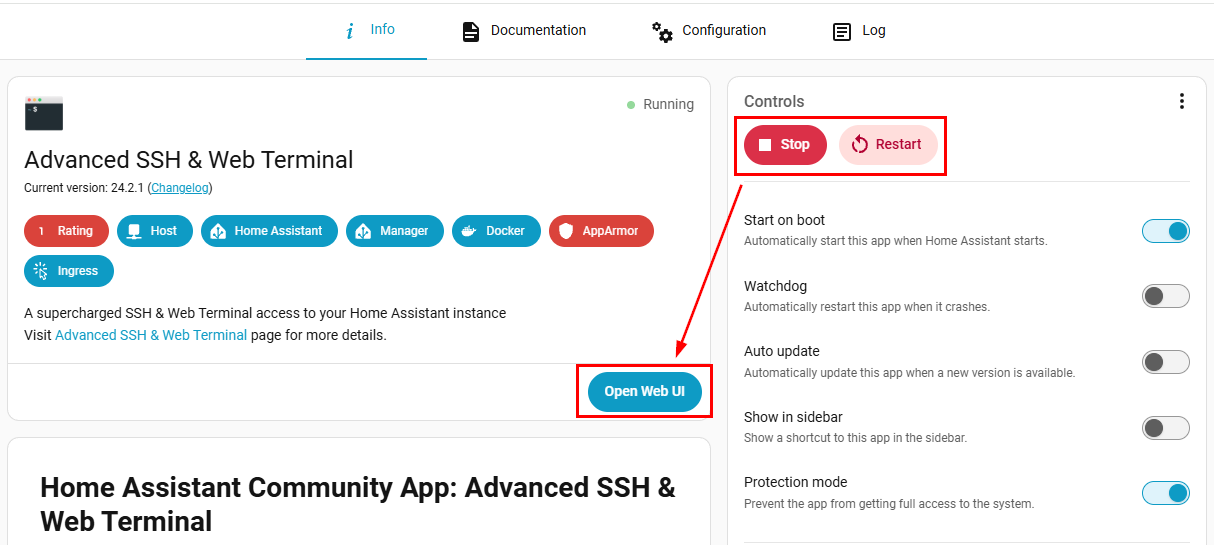
- Once started, click on Open Web UI
- A screen similar to the following will be displayed.
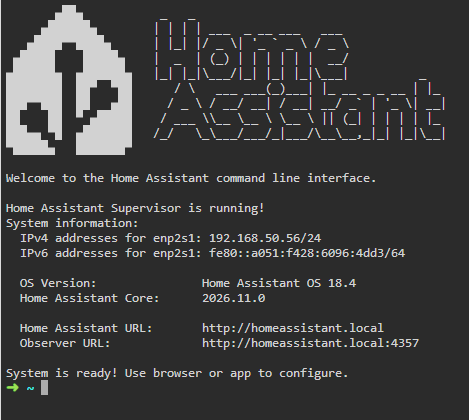
Run the Installation Script
Now that the SSH app has been installed and is running, we can run the actual installation script.
Marketplace authorisation
- From inside the SSH app, copy and paste the following (once copied, you can simply right-click in the SSH terminal to paste)
wget -O /tmp/install.py https://raw.githubusercontent.com/ha-energymanager/ha-energymanager/main/install.py && python3 -u /tmp/install.py
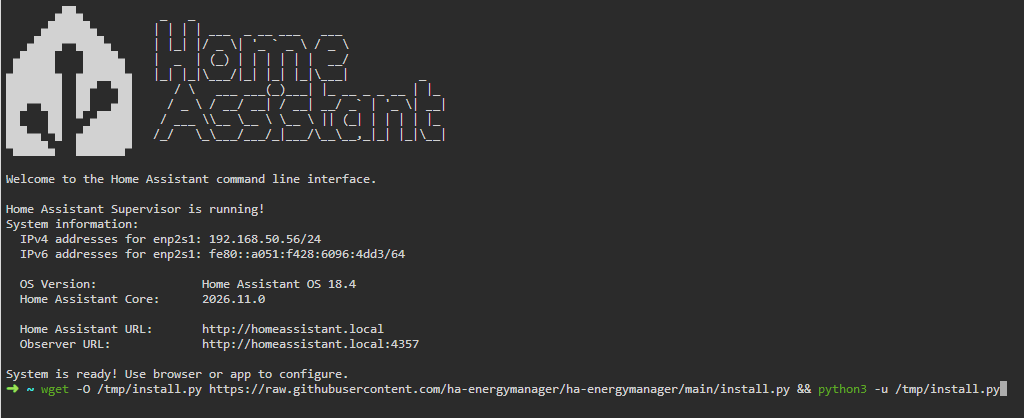
- Press enter to submit the pasted command and then the installation will commence.
- You will be presented with a request for your consent. Please review the full consent at Settings > Marketplace and type YES if you agree, and then enter. The official warning is displayed below for your reference so you know what you are consenting to.
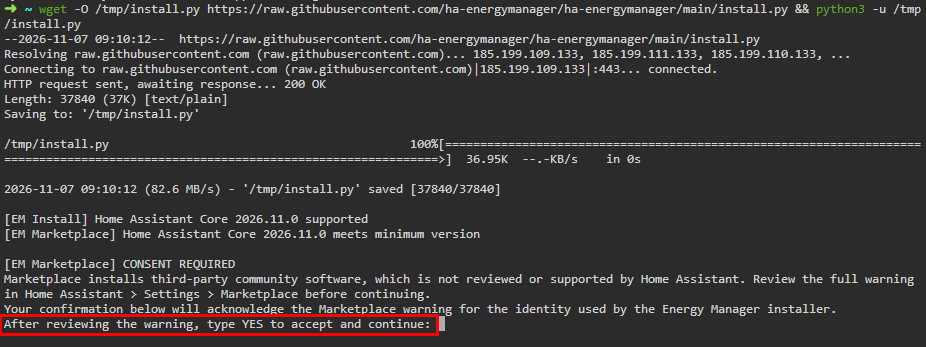
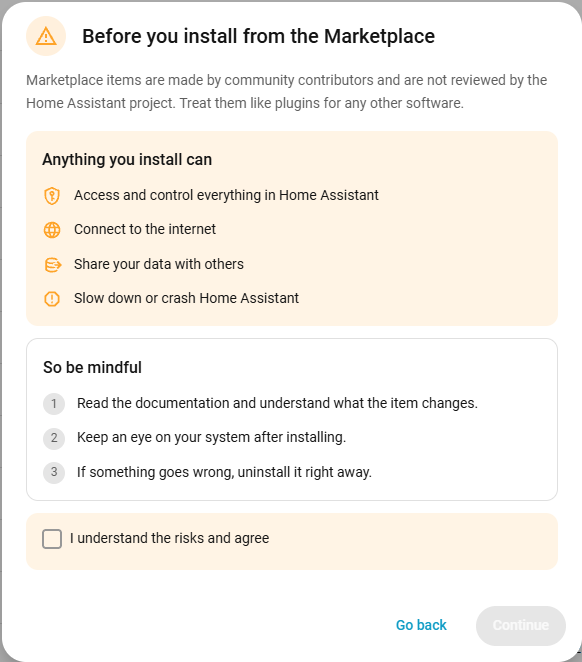
Do not browse away from your SSH terminal to view the consent, it is pasted above for your reference. If you must browse to confirm it, you will most likely receive the following error - just re-run the installation script to perform the task again.

- After entering YES, you will be presented with an authorisation code to supply to Github. This is a mandatory requirement for the Home Assistant Marketplace and must be completed. Take note of the code in point 2, and then click on the URL in point 1 to be taken to Github.
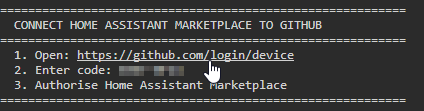
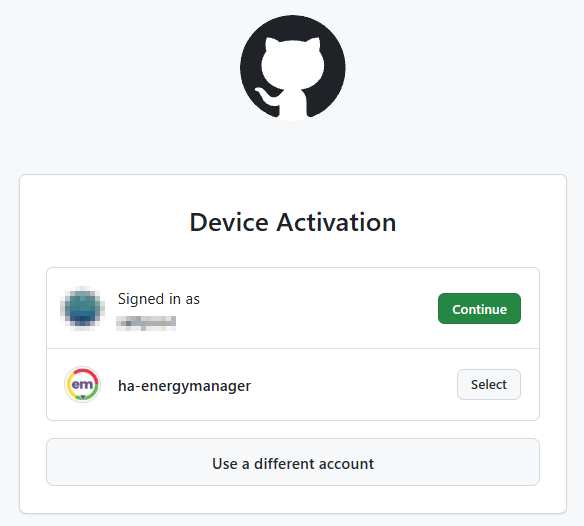
- If prompted, select the Github account that you which to authorise with and continue
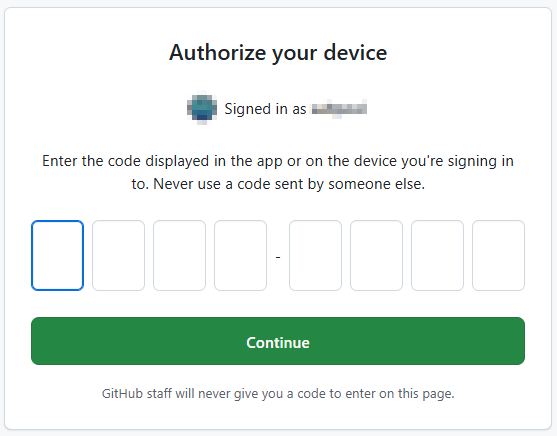
- Enter in the code that was provided and click on continue
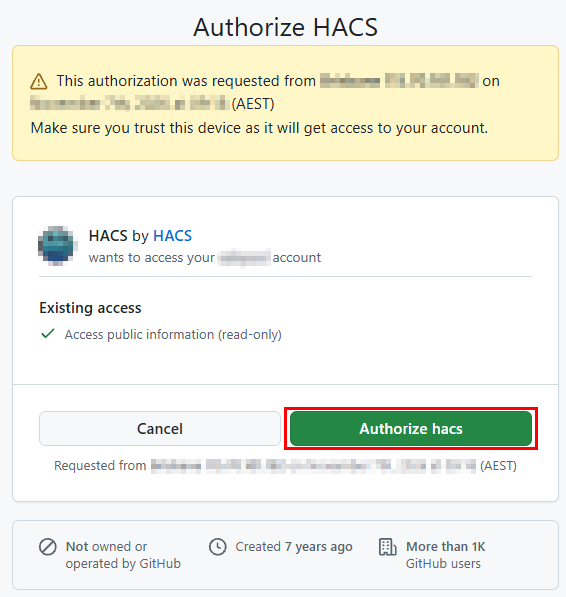
- Select Authorize hacs when prompted and then return to Home Assistant. You do not have very long to perform this step.
Solcast and Energy Manager API keys
- Enter in your Solcast API key if you have it. This can be performed later, but if you want the Solcast configuration automated, you should enter it here.
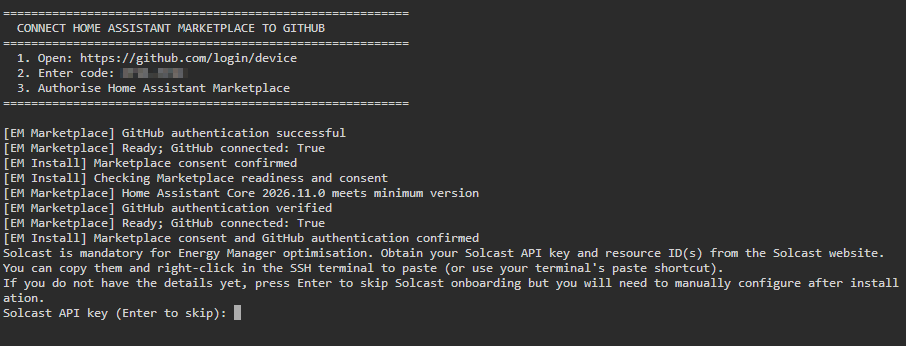
- If you do enter your Solcast API key, you will be prompted for the first Resource ID.
- Once the first Resource ID has been entered, you can enter a second one if you configured it in Solcast.

- Enter in your free Energy Manager API key if you have already created it. This can be entered in later if needed, but if you enter it in now it will configure it for you automatically.

Energy Manager Install
Energy Manager will continue and install its various scripts and components. This may take up to 10 minutes to complete.
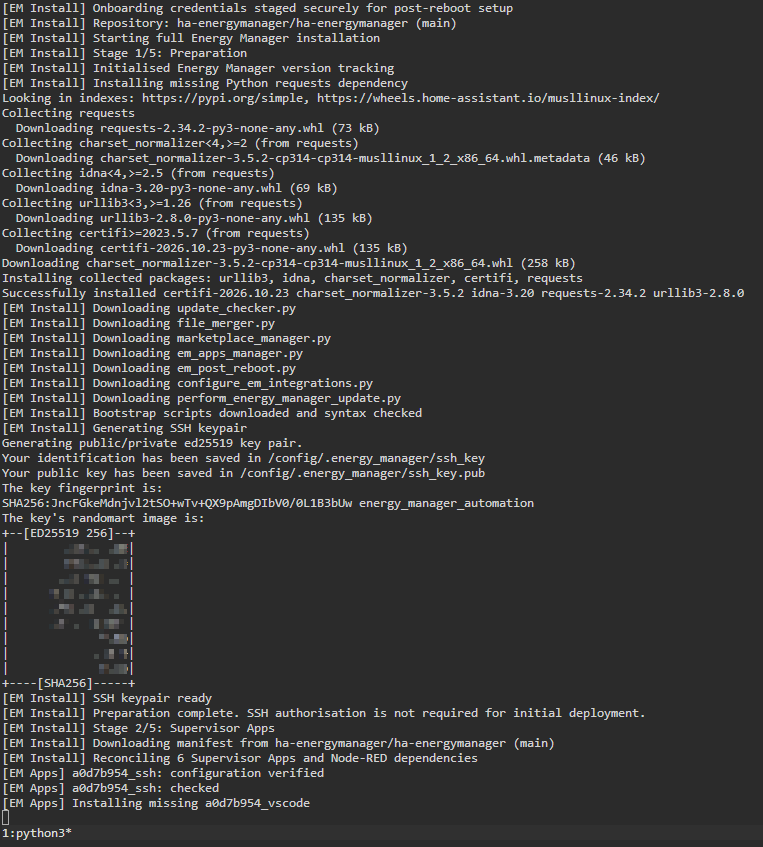
Note that Home Assistant will performed a forced reboot during the installation. Do not perform any other work on your Home Assistant while the script is running.
- Once the installation has been completed, Press enter to Reconnect inside SSH. You will see some new menu items on the left.
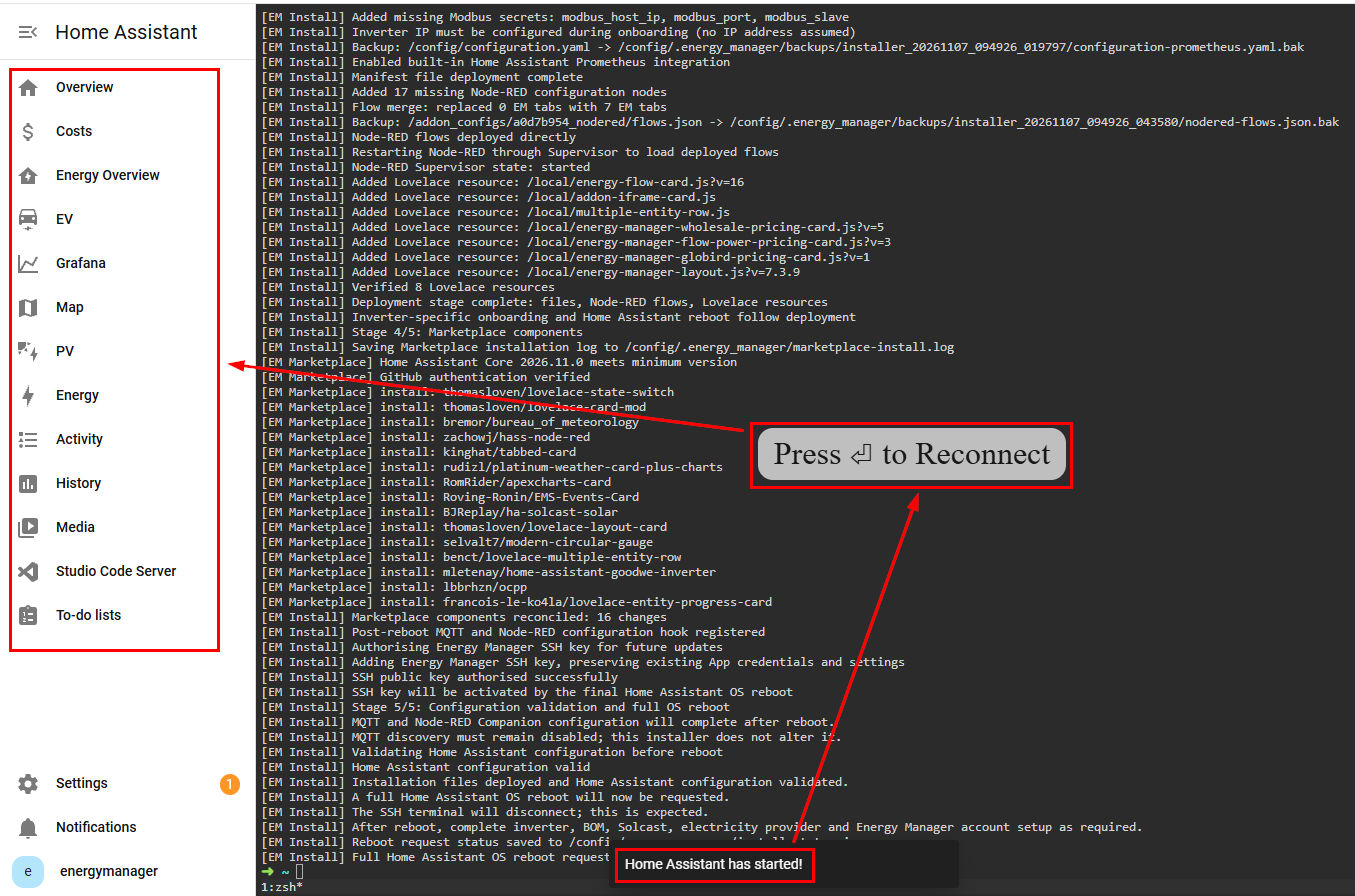
Force Clear Cache
It is very important to clear your browser cache as soon as any Energy Manager update has been completed, including this installation. Home Assistant caches very aggressively (a lot of content is run in your browser, not in Home Assistant) and things have now changed with your setup. So Press F12 to go into developer mode, and then right-click on the refresh button and select Empty cache and hard reload. Then close the developer tools. Ignore the errors messages you will see in the developer tools - this is what the forced cache refresh will be fixing.
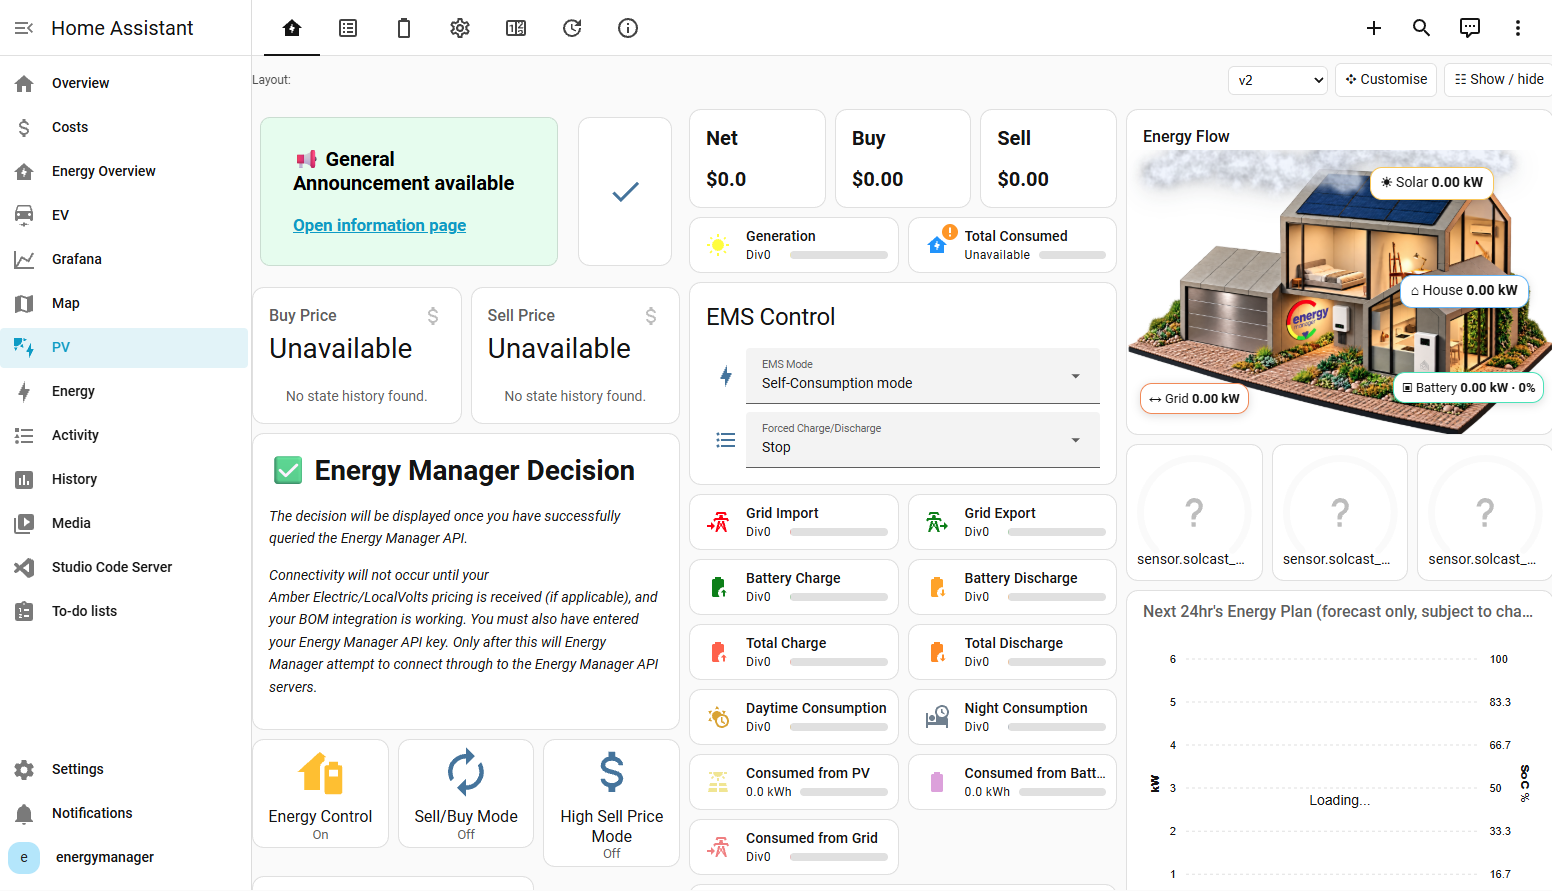
- Select the left PV menu and a page similar to the following will be displayed.
We still have some configuration to do, so it won't be showing data, but that will be configured in the next section.
When the above steps have been successfully completed, move on to configuring the settings that are unique to your system in the post-install instructions.